
Monthly trending articles on ConnectClue


Post updated on: Sep 6, 2020 10:49:17 AM
This steps are tested on Ubuntu 16.04. I have listed down some basic Linux commands also which you should be aware of.
- sudo apt install apache2
- localhost:80/
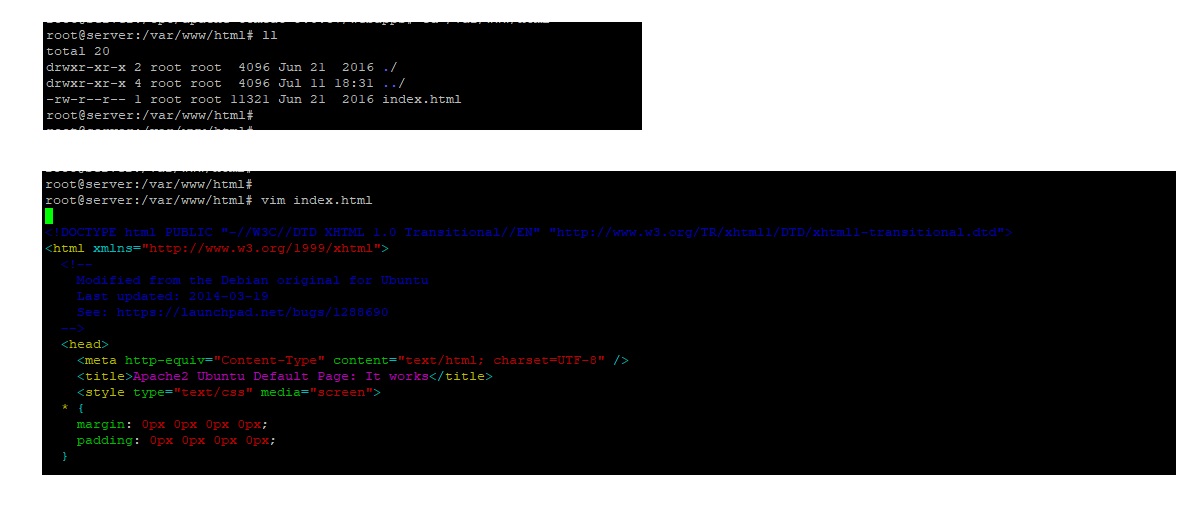
- cd /var/www/html
Open and Edit file
- vim index.html
Type "i" to enter insert mode.
Press ESC and then type ":wq!" then press Enter to save the changes and exit vim.
nano index.html

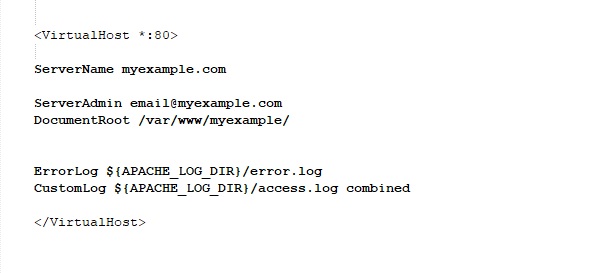
cd /etc/apache2/sites-available/
sudo nano myexample.conf
Add the email address in ServerAdmin email@myexample.com
Add the server name as ServerName myexample.com
Add the Document for the folder which you had already created
Happy learning!!

Post updated on: Sep 5, 2020 10:02:42 PM
Trending authors


Discover your area of interest
Advertisement
Art & entertainment
Astrology & spirituality
Cooking
Culture
Current affairs
Education
Fashion
History
Hotel management
Industry
Medical & fitness
Motivational
Politics
Real life stories
Sports
Story & poetry
Technology
Top in search
Tourism
More recent categories
General Studies(Public)
By: Janhavi
Techology(Public)
By: Alicia
Business(Public)
By: Alicia
Real Estate(Public)
By: Property
Apache Solr(Public)
By: Amit
Buy Oak Charcoal (BBQ Grade) O(Public)
By: swedpolllc
Buy Premium Sawdust (Loose & D(Public)
By: swedpolllc
Buy Sawdust (Loose and Dry) in(Public)
By: swedpolllc
Buy Kiln-Dried Oak Firewood in(Public)
By: swedpolllc
Buy Premium Loose & Dry Sawdus(Public)
By: swedpolllc
Working on delete request.

Please wait!!